
Firstly, you need to get your hands on some studs. These come in all shapes, sizes and colours on eBay at only a few pounds. I have bought star shaped and square but for this DIY I used just the square.

I'll start with this pink shirt. I got it in a sale at Internacionale last winter for just £5, I really love the popping pink colour - It's so striking! It also has a small asymmetric hem which is very in-style at the moment.


My second shirt is this denim shirt I got a couple of years ago from New Look. I have huge love for this shirt because it is just so comfy but yet you can still look so trendy in it. The distressed denim look is really cute because it doesn't look like it's too much denim.

Here you can see Sensible Georgia laying out the studs before she sets them into place...
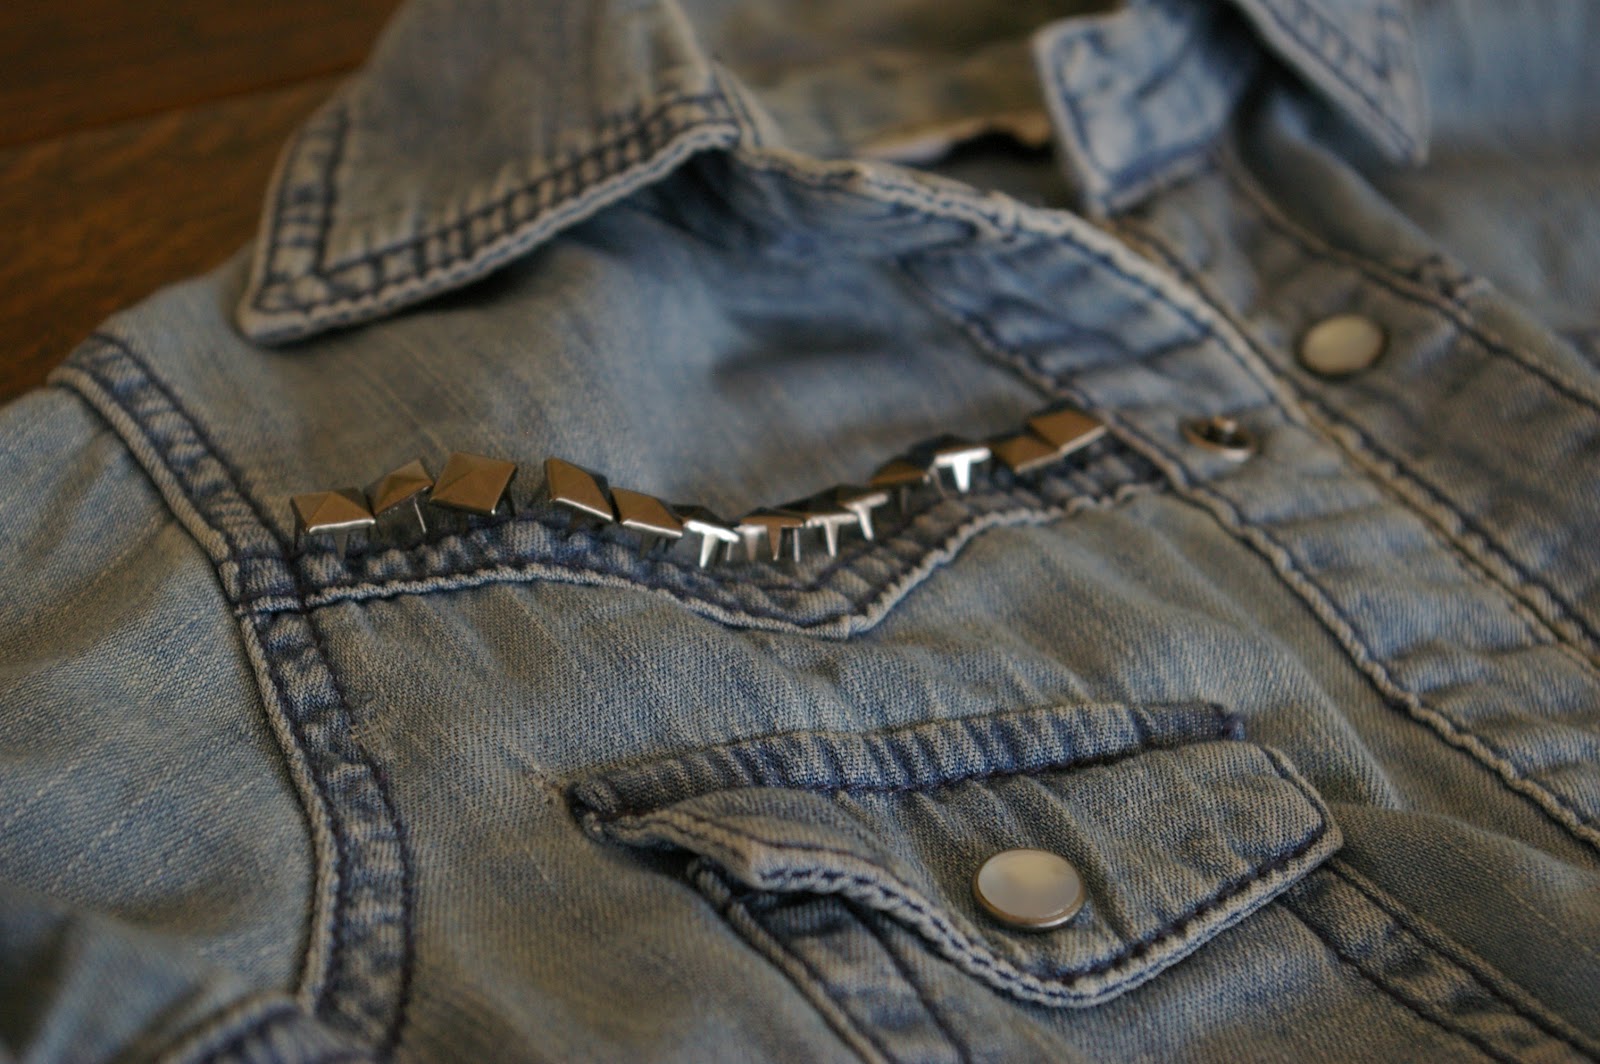
I was so incredibly happy with the finished product. The studding has given this laid-back, comfy, cute shirt a really edgy, stylish twist. Who doesn't love being able to look fabulous while still feeling comfortable?!


Well, I have to say I am so proud of my handiwork. The sore thumbs and broken nails were totally worth it! I have a second part to this post coming but I hope you like these pieces as much as I do! I really recommend having a go of studding some old pieces in your wardrobe for very little money! If you do give it a go, post the link so I can check it out.
So, how are you guys? I need to catchup with my favourite blogs now that work isn't so busy my head is slightly less busy so I can think about it more. We went to London last week and were part of the core team holding an event at Wembley Stadium. It was a lot of hard work but it was really worth it and I definitely learnt a lot. Right now though, I am just ecstatic that it is the weekend. Tomorrow I have a day of vintage shopping with my mum ahead of me and then Sunday Sam and I are viewing yet another wedding venue! To make the weekend even better Strictly Come Dancing has just started, is anyone else watching it?
Right I shall get back to Strictly, hope you're all having a good Friday night. Hopefully wilder than mine is haha, night guys :) X
Cool DIY! You've inspired me to do the same to my denim shirt :)
ReplyDeletewww.steffysworld.com
I like your blog! I would like to invite you to me :) Let's follow each other =]
ReplyDeleteoh wow! This looks awesome!! You did it fantastic.
ReplyDeleteAnd your blog is so lovely <3
xx
Nat
Love the DIY. Great blog, so I'm a new follower =)
ReplyDeletegreat ideas <3 <3
ReplyDeleteGreat post! I love studs, but some of the stuff you find in the shops can be so expensive! DIYing is definitely the way to go, so thanks for his DIY! I look forward to reading part 2! :)
ReplyDeleteMy blog: www.missiffa.com
I LOVE THIS LOTS
ReplyDeletexx
www.fashionwillbe.blogspot.com